
Triangle
 I messed up this one. It almost did not make its way to Our Patisserie; but since there is a lot to learn from failures, I decided to post it anyway.
Here is an outline of the steps. Following the original recipe in Alice Medrich's Cocolat, I first made a hot milk sponge layer. I brushed it with syrup and spread it with chocolate buttercream. (The cake calls for 1 1/2 c of buttercream flavored with 10 oz of melted chocolate. In my case, there was quite a bit of leftover as I could not complete the project.) I cut the cake into 6 equal strips and stacked them on top of each other. As my cake was not even to start with, the stacked cake needed to be pushed down and leveled. Then I wrapped the cake in plastic and placed it in the freezer.
The next morning, I took it out before my children left for school. The idea was to picture the way to cut the cake, and I needed Zeynep's help to do that. What a mistake! It just was too hectic a time in our kitchen for me to think clearly and do the job right. I cut the cake too fast and unevenly. Worse still, I thought I cut it the wrong way. In my disappointment, I hastily put the pieces in a plastic bag and dumped the bag in the freezer.
Much later, after the house resumed its quiet and I was able to think again, I realized that there was no way I could have cut the cake wrong. I just could not see how to combine the pieces in the morning's rush. I took out the bag and tried to form a few decent looking slices to picture. Unfortunately, since my cake was in pieces, my slices were not as many layered as they should be. Also, this cake has a soft texture and because of the way the layers are formed, it is difficult to get nice looking slices even if you heat the knife before you cut it. Ideally, it should be sliced in a semi-frozen state.
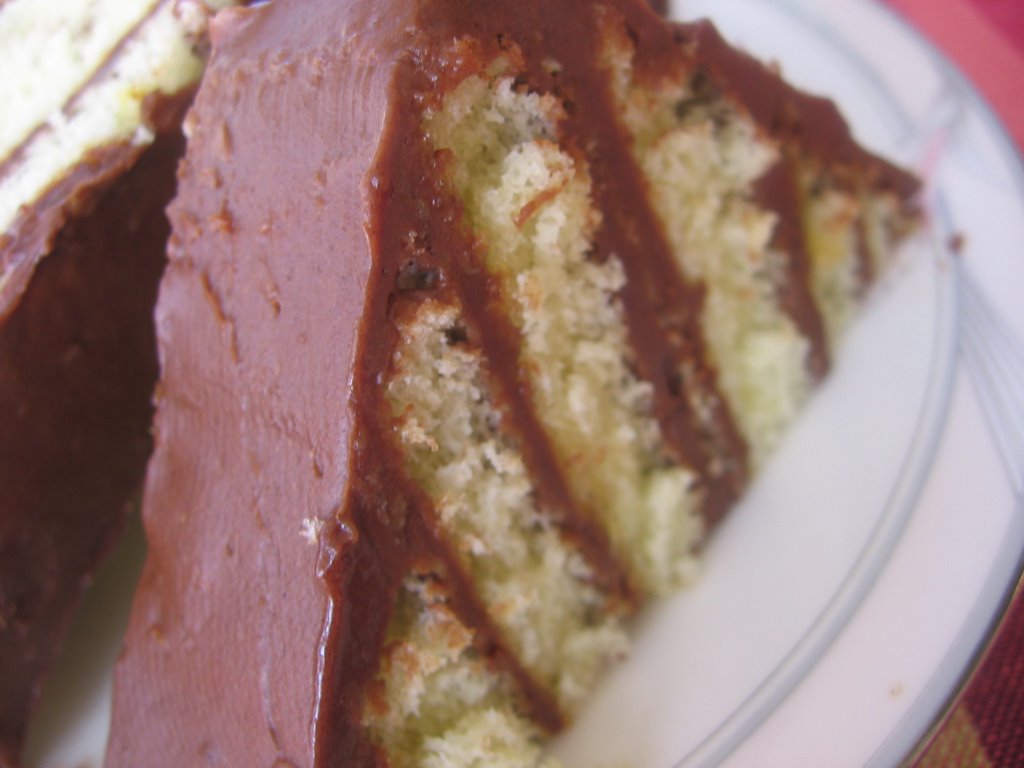
 Despite my less than happy experience with it, this is an easy cake to make. The only difficult part is the cutting. And of course, you should be in your right mind to figure out how to combine the pieces once they are cut. Better to avoid this when you have 3 kids running around in your kitchen. The funny thing is that the picture we took during cutting did not come out good, either. But I am a firm believer that a picture is worth a thousand words, so here is another one that I hope will help.
posted by zinnur at 3:48 PM
![]()


<< Home